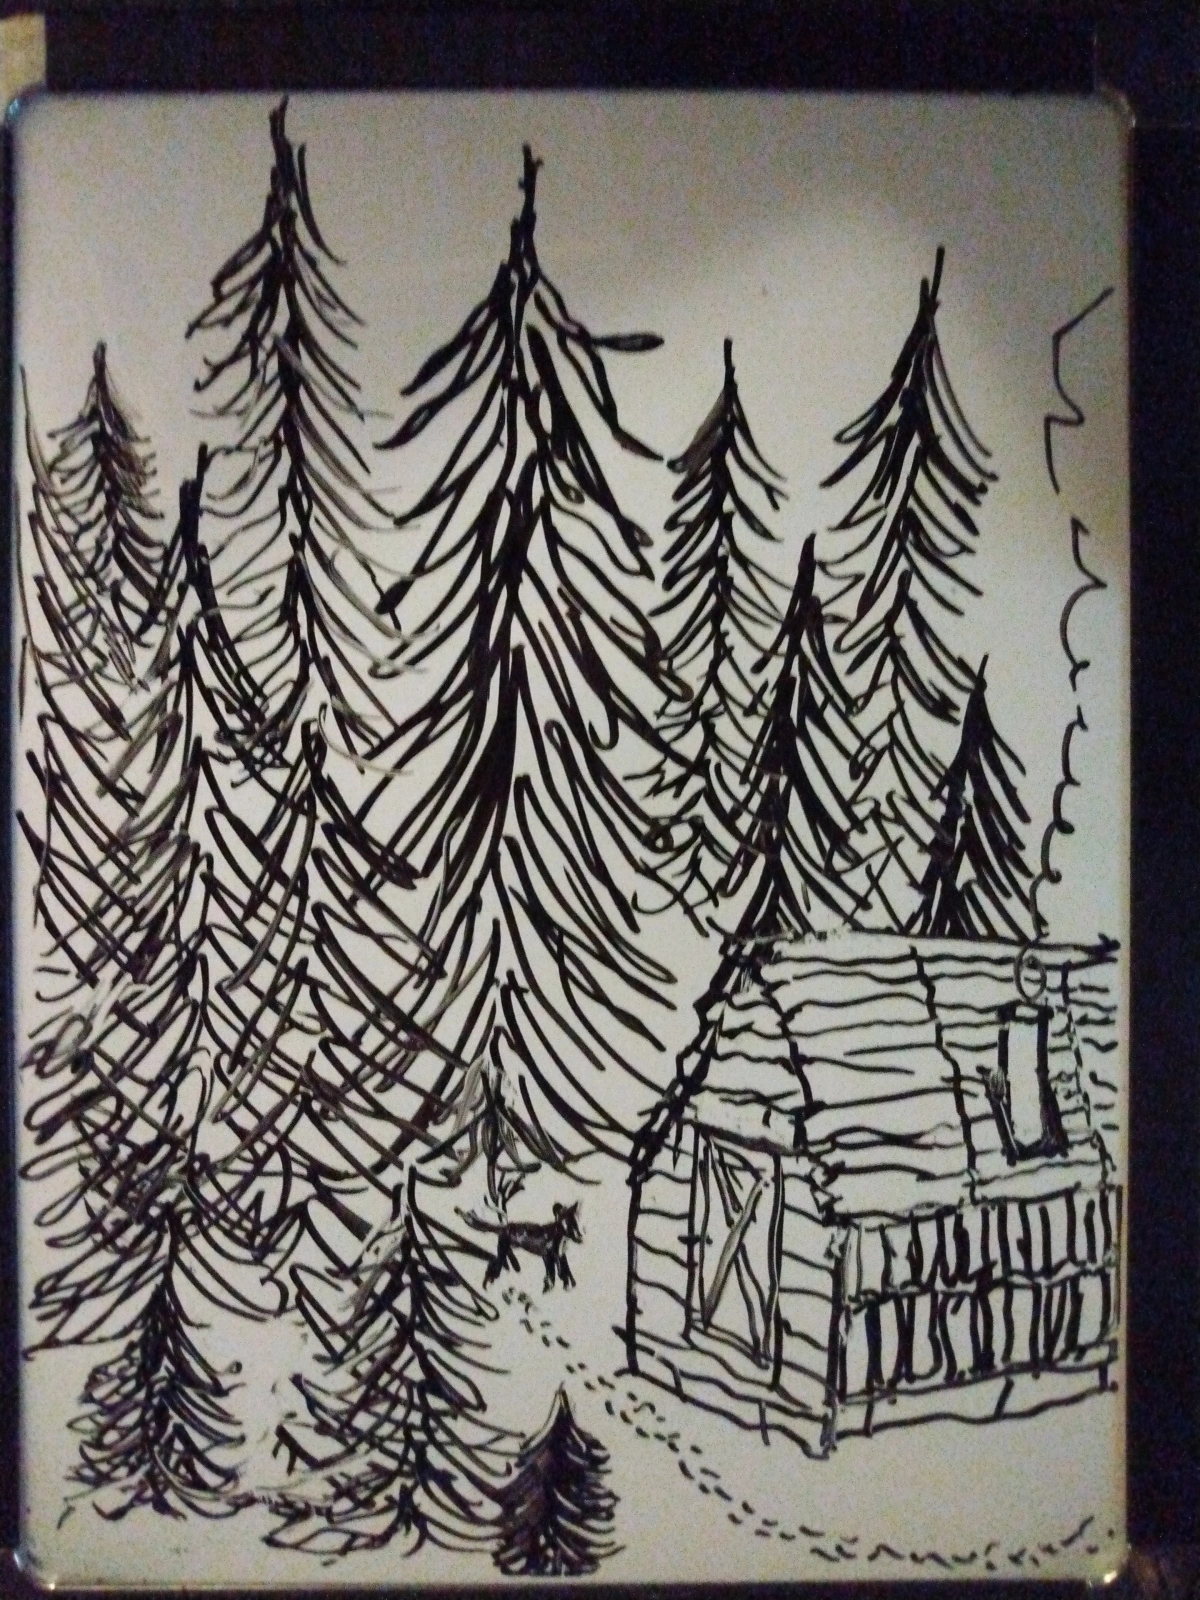
Tiny Cabin In The Woods (Behind our Shed)

It took more than two days to build.

Do you like to fall asleep to the sound of rain or a blizzard raging outside – from just inside the windowpane of a tiny cabin tucked amongst some trees on a mountainside?

What makes us gravitate to those sorts of settings?

My husband and I pick a video off of Youtube every night at bedtime that features such a scene. Imagining yourself warm and safe, wrapped in blankets in bed next to a fire is an invitation to sleep. The worse the storm, the better.

One evening after discussing this fascination, I decided to make it for real and set out to build a tiny cabin to sleep in when it storms.

I found a suitable spot behind our shed in a small clearing to throw it together in a day or two. Like the Cabin For The Cats, it took a little longer but I really like how it turned out.

Made of pallets rather than logs as we get most of our wood from a business downtown in almost limitless quantities, it looks decently impressive, mostly on the inside.

My idea was first, to make a simple A-frame but I didn’t have the right pieces to do it so I redesigned with what I had. I used the thicker pieces for the frame, of course, and filled in the blank spots with the slats from the pallets.

I installed our homemade propane canister fireplace to finish it.

The porch came last.

Have a look, rather than me try to describe it. I’m actually proud of myself!

Building A Cabin For The Cats

Or was it really for me?

As the summer lags on and the clock seems to almost stop, a little project can break up the monotony.

The Cat Cabin sounded like just the thing to keep me occupied for a couple of hours. Three weeks later, I’m finally satisfied and now it sits, in all its feline glory, behind our shed.

I wanted to keep it simple with a few rows of “logs” for a frame with some plywood for the roof. I broke down the Toilet Teepee (don’t ask), and cleaned up and sawed the logs to size. Cutting the slots was by far, the worst part. How does one build a full-size cabin for God’s sake?

I used The Patriot (our electric chainsaw), to cut the grooves and began to stack. It took me a lot longer than I thought it would. Now it was time for the upper deck. I made a floor out of boards screwed onto a pallet which my husband helped me place on top of the logs. Next was the roof.

I originally used a couple of pieces of insulation board but it looked tacky. It was around that point that I became obsessed with the details. I decided looks were imperative and I wanted rustic. I replaced the fake roof with real wood and installed decorative support beams.IMG_20210820_201705256I hit the town woodpile again looking for matching pieces because now I had a color scheme: Lincoln Log green and brown. Six cans of paint later (with red added because the brown was out), the cabin was starting to look like – a cabin.

cat cabin 1

I added a back deck with all-natural railings and a cat toy. The entrance now sported a driftwood figurehead of nothing in particular – it just looked cool. Painted pine cones were the finishing touch.

Now I needed some cats.

Tuna juice and the addition of an extra door finally got them in but by golly – they now have a Cat Cabin. Even the skunk likes it. Oh – I didn’t tell you about the skunk that’s moved into our shed?

Soap Making With Linda

A cautionary tale.

I am the queen of imperfection and soap making is no exception.

I’ve made homemade coconut oil soap before and the measurements and timing are really important. Mixing too.

I used my food processor and discovered how much you try to cram into it matters.

I don’t do this too often so I watched a video on the subject by a woman whom I’m now blaming for the disaster that ensued. Doesn’t matter that I didn’t follow the instructions.

I’m jealous because she built a log cabin by herself and she has her own Youtube channel.

She made the measuring easier by using an entire 54 oz. bottle of the oil, adjusting the measurements for the other ingredients accordingly. “Great”, I thought, as I dug fifty bowls and utensils out, my alcohol inks (for color), my essential rose oil, a scale, a thermometer – and my beloved food processor for mixing.

The normally solid coconut oil was already in liquid form from the heat so I wasted no time and poured the entire container into the mixer.

Then oil started seeping out of the machine.

I’d clearly overfilled it and it was leaking through the blade attachment. I thought fast and poured it into the container that was resting on the scale, zeroed out to measure the lye. In the process, oil slopped all over the place so I put the mixer container in the sink and grabbed the bowl that was on the scale to dump back into the original bottle.

Unfortunately, the oil had stuck the scale onto the bottom of the bowl, releasing it into the sink full of water at just the right moment.

I swiped it out, grabbed a rag, and began the cleanup.

Because our RV isn’t perfectly level (a sheer pin in one of the hydraulic jacks sheered off before we could finish the job and I’ve lived with the fact that in our bathroom anything that rolls, will head west when placed on the counter), the coconut oil also headed west.

It was on its way to the edge of the counter so I hit the most threatened areas first then turned my attention back to the motor unit of the food processor. I sopped up the pool in the tray on top, wiped off the suction cups on the bottom and put it aside while I finished cleaning the counters.

I scraped wave after wave of the skin conditioning, nutty smelling stuff into the sink and down the drain. I figure I lost about a third of the container.

I again picked up the motor unit and noticed a huge puddle of the viscous liquid on the counter I’d just cleaned. Upon holding the gadget above my head, I spied oil coming out of the motor compartment.

So long food processor.

You can actually dry some electrical components out but I’m not taking a chance with this one.

I put the fifty bowls, utensils, alcohol inks, the scale with the now-cloudy digital readout, the essential rose oil, and thermometer away but the food processor unit is now sitting in the hot sun, still oozing – destined for the garbage can.

The moral of my story? Life ain’t perfect but at least my hands are soft.
We’re Human

We are the family with the un-mowed grass at the end of the block.

I’ve been comparing my blog with that of others who write about the subject of living off grid – perhaps unfairly. Most blogs offer accurate information and how-tos, informed by education and experience. People like blogs that offer useful information.

Mine is stories.

When we left our old world for our new, the adventures began and I felt compelled to record them, and maybe share them with others. I hope to turn our tales into a book.

Neither me nor my husband or super go-getters so almost nothing we do is top-notch although we try. We end up stumbling along in a human rather than super-human manner and the results of our efforts are often just-enough and not pleasing to the eye.

When I take pictures, I avoid the trashy looking parts of the property. My husband says I worry too much about appearances.

We do all of our own repairs so half of them don’t get done if we can’t find instructions of the internet. That would include our central heat which stopped working when we attempted to install a propane fridge which is now sitting in the shed getting dusty.

I built our generator shed out of pallets and it looks like shit. I also built all of the shelving in our shed from pallets. They aren’t Pinterest-worthy but they hold stuff.

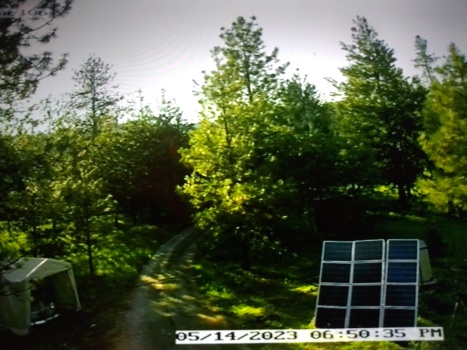
Our garden fence was constructed from trees and old barbed-wire fencing left on the property seventy years ago. Our solar panels were mounted on plywood for the first six months we had them.

20181104_164232

We are experts at nothing but the journey seems to be what is worth writing about. I wonder how many people are like us – that just do their best which is far from perfect but they still live a rich life despite themselves.

Although we’ve struggled financially for the past two years, we haven’t been sitting around doing nothing. We were working on something that has finally come to fruition and the rewards are just beginning.

Now we can pay someone else to fix things or just buy new ones. We paid off our current property and are now in the market for a larger chunk of land with a house.

I’ve thrown some money at my blog hosting site and hope to reach more people in the coming months.

In the meantime, you won’t find hacks here – just stories of how we fudged this or that. I hope that revealing our humanity is enough to keep someone coming back.


The Never Ending Repair Cycle

I keep reminding myself I asked for this. I entered into this adventure willingly but I’m reminded daily that it comes with a price.

Living out here away from the cities with no utilities is exhausting and I’m pretty sure my blog will someday morph into “Stories Formerly From Off The Grid”.

I’m up in the middle of the night again unable to sleep. There’s either an air or water leak in our RV fresh water system and the pump keeps cycling on and off about three times a minute. It’s driving me nuts.

I could disconnect it but that would mean putting my boots and coat on and going outside in the rain to disconnect the pump from the battery – which might wake my husband.

If an RV water pump is turning on and off by itself, it’s either an air pressure or water leak or the pump is bad.

We’ve tried to track down the cause without success. I’ve listened carefully for the sound of running water inside the RV but haven’t heard anything. I looked underneath the trailer for drips but have only spotted a small one coming from one of the holding tanks.

My next step is to replace the heat hose going into the pump to see if the system is losing pressure there.

On top of the leak problem, our furnace stopped working. I browsed the online RV forums for clues but we’ll have to open an outside access panel that’s sealed shut in order to check the fan reset switch, if there IS one.

20191207_053622

We accidentally put bad gas in our small generator and broke it.. Then I accidentally stripped a bolt inside the carburetor while I was trying to repair it. JB Weld didn’t work so now it has to go to the shop. Thankfully we have another larger generator but it’s a gas hog.

We tried to install a propane refrigerator to replace the electric one that was using seventy percent of our electricity but after a month of trying we couldn’t get it to work. The extra fridge sat in our living room for a month but now it’s tucked back into it’s spot. The RV seems suddenly spacious.

It seems like after we fix one problem, another one pops up or we cause another one until we’re back at the beginning. Like a wheel, it goes round and round – never to end.

Update: We bought a new water pump – problem solved.


Featured Image by  Christopher Burns on Unsplash.


Holes

Give me a shovel and I’m happy.

I grew up in Utah in a town named Roy. My Dad passed away months before I was born but I’m told our house was brand new when my parents bought it. No landscaping was in place when they moved in so when my Dad did it himself, he left the rear third of the back yard in it’s natural state.

We had a commercial size playground set that attracted every kid for miles, four huge trees to climb – and lots of dirt.

Dirt is the perfect toy. It’s great for a growing kid’s immune system, and is superior to the most expensive of Lego sets.  You can mold it, make highways for your matchbook cars, or create mud pies. The possibilities are endless for a kid with a bucket, a shovel and a four year old imagination. I spent a good part of my childhood playing with the cheapest toy on earth. I lived in the dirt.

Fast forward to adulthood and I haven’t changed.

Now that we have our own property, I dig to my heart’s content. I don’t need an excuse to grab a shovel. I look for water, gold, antiques and lava (because we live on a fault line 🙂 ).

When we first moved here, I went looking for water and found natural springs on the hillside a couple of feet down. I dug several other test holes and named them alpha hole, beta hole, etc. I’ve since had to fill them in so someone doesn’t step into one and break a leg.

Recently, our spring had begun to dry up due to drought so I began eyeballing a spot I suspected may have been an old well. I’d previously dug down a few feet then left it alone but I decided to do deeper in search of more water.

My husband and I spent a week clearing vegetation and moving the piles of rock that were already there, away from the hole. We spent day after day digging by hand and with a pick ax and shovel until one day I heard my husband exclaim excitedly “look at this!”. I looked down and saw water squirting out of a crack in a rock – under pressure.

We now had a strong new water supply.

We set the pump in and we’re back in business! It’s producing about a hundred fifty to two hundred gallons a day. Plenty for ourselves and our garden. I felt a great sense of relief and was glad we’d decided to go through with the backbreaking project.

I’m still digging – mostly for gold. I currently have about five or six holes that I lay boards over to keep people from falling in.

Maybe it’s time to get the water out and make some mud pies.

Mushroom Farm

Growing morel mushrooms in nature.

Morel mushrooms are highly sought after and are currently going for forty-plus dollars a pound.

They’re apparently hard to cultivate but we got lucky – you see, they already like it here. They grow on our property. Just not enough to sell but enough to make mushroom “slurry” out of. A slurry is a kind of spore soup used to propagate more mushrooms.

We’ve been tossing around the idea of farming mushrooms since we moved onto our almost four acres of land in eastern Washington a couple of years ago. We were thinking of growing oyster or medicinal mushrooms but our tight budget, the need for snow-load rated greenhouses, and a lack of knowledge have kept us from moving forward.

Then I had a great idea – the mighty morel!

I’m no expert on them but my husband and I have been harvesting them for a couple of years and know they bring a pretty penny – dried or fresh. The biggest problem is that they only grow once a year – in the spring – and for a very limited time. May is morel month but we only find them for about two weeks. You have to know where they grow and we haven’t yet found any good spots locally.

The competition seems fierce.

We’ve been up and down many forest service and DNR (Department of Natural Resources) roads looking for them but not a one have we seen – until we get back home. Turns out we are fortunate to have land that is naturally host to morels.

In our area of the Pacific Northwest, they grow around Ponderosa pines in slightly grassy to semi-spongy areas and often along roadsides. My understanding is that the mycelium (which lives under ground), have a symbiotic relationship with certain tree roots. The mushrooms themselves are the fruiting bodies of the organism.

We dried out the few we’ve found and started the spore slurry. This is the first time I’ve made the mixture and the idea is to soak the mushrooms in water that has had salt and molasses added in order to germinate the spores. The molasses feeds the rapidly reproducing spore population and the salt keeps the bacteria away.

After soaking the slurry for twenty-four to forty-eight hours, you spray or pour it around host trees where, theoretically, they’ll search for roots to become roommates with.

20190518_121428

 I was stirring the slurry with a wooden paddle when the thought came to me that if they like wood, why not add pieces directly to the slurry then bury them under trees? The thought is that the spores will find and start a home before they are planted. This will be an experiment that won’t show results for a couple to a few years when the mushrooms grow – if they take at all.

If this works, we might eventually have enough mushrooms to harvest to sell.

For the time being, we’ll have to content ourselves with the ten  to twenty we find each year.


Restoration

“Spring” cleaning.

We were lucky to discover natural springs at the top of our property and spent the first year digging the main hole and a trench down the hillside to a place near our trailer.

20190518_125123

In the process, we moved a lot of mud and rocks. It looked like a bomb had gone off.

20190518_121658

Mounds of material littered the ground from the top to the bottom of the area where our spring lay. It was so ugly, I decided to clean it up in order to bring back the natural beauty that was there when we arrived.

I began a restoration.

Surprisingly, it went faster than I anticipated. I raked the rocks into piles and picked up the stragglers by hand and before you know it, the place began to look natural and pretty again.20190518_121902

I started last fall and got about a third of the work done. This spring, I finished but I will leave the rocks in mounds where I hope the plants will begin to grow again eventually.

I can’t wait until next spring to see how it all looks.

This slideshow requires JavaScript.

Two Idiots, A Water Heater and a Hero

Most people probably don’t give a second thought to their water heaters but ours came with a story.

When we bought our RV, it had been refitted for use with city hookups rather than for it’s original purpose of boon docking. The electric water heater that had been installed was gobbling our energy so we ordered a propane model.

When the UPS guy dropped off it off, we eyeballed it with suspicion as we’d recently watched an episode of the TV show Mythbusters featuring an experiment with hot water heaters.

They had disabled all of the safety measures on several tanks then set the temperature dials to maximum. Upon overheating to the point of exploding, they blew open at their weakest points – the bottoms – launching them hundreds of feet into the air.

We wondered how high our mini-rocket might be capable of traveling under the wrong circumstances as we wrestled it into its compartment on the side of our RV and hooked up the gas and water. We checked for leaks then lit it up.

We turned the water on to check the temperature but it got hotter and hotter then stopped flowing altogether. Clueless and sure the heater was nearing blast-off, we called it a night.

Our luck was no better the next day so we decided to call a professional.

Photo by Kurt Cotoaga on Unsplash

Enter Norstar Heating and Cooling, Inc.

They don’t normally do work on RV’s but they agreed to send someone to come take a look. For two weeks we waited – without hot water.

By the time he arrived, the repairman had attained hero status in our minds.

Armed only with a notepad and a toolbox, he listened with concern as we told him our plight. Wringing our now filthy hands, we recounted our misadventures as he stole sideways glances at the beast that waited behind the access panel that said “hot”.

Finally, he adjusted his collar, turned, and approached his foe with a swagger that would have made John Wayne proud. He opened the hatch, squinted into the darkness and went to work.

We stood back and watched nervously. What if he couldn’t fix it? What if we had to send it back for another? What if this cost us an arm and a leg?

Finally, we heard the rocket-like swoosh of propane igniting as the man cocked his head and made his final adjustments. We tried in vain to read his poker face as he turned and walked back our way to give us the news.

Suppressing a grin, he told us “I turned the heat down.”

The Amazing Miracle Pallet

Never seen on TV

Free wood!

If you live off the grid or just have a lot of projects requiring wood, pallets are perfect.

They are a great choice for many reasons:

  • They’re free
  • They’re already nailed together
  • There are plenty of them
  • They have a billion possible uses
  • You can find them EVERYWHERE

Where can you find them?

  • Behind grocery stores
  • In the alleys behind hardware stores
  • In the garbage/recycling areas of businesses
  • On Craigslist

What can you do with them?

  • Make furniture for your house.
  • Craft projects: Signs, decorations, hangers for jewelry, etc.
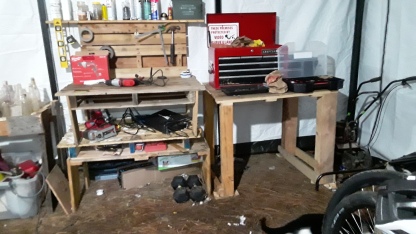
  • Shop uses: shelves, tool holders, work tables.
  • Dismantle them and burn them
  • Build a shed or even a house out of them.

To cut them up or dismantle individual planks use:

  • a jig saw
  • a circular saw
  • a pry bar
  • a nifty tool we bought at an Ace Hardware called The Wrecker (a fancy pry bar with extra “bars” for whatever leverage you need
  • a hammer and a chisel for working the nails out
  • a hammer to just whack the slats free (might break it)
  • a couple of two by fours to remove individual planks without breaking them

For assembling various projects use:

  • A drill and drill bits for pilot holes through thick boards
  • A screw guide for the drill (a MUST)
  • Wood or deck screws of varying lengths
  • Nails
  • Brackets made by screwing two pieces of wood together or metal ones from the hardware store to add extra strength at attachment points
  • Circular saw for cutting leg lengths and larger straight surfaces
  • Hand saw
  • Hammer
  • C-clamp for holding pieces together tightly (the third arm) while installing screws
  • Jig saw
  • Tape measure
  • Wood router
  • Wood pencil for marking (works even on wet surfaces)
  • Other hardware such as hooks and hangers
  • Varnish

 General tips:

  • That screw guide for your drill makes sinking those long screws SO much easier
  • C-clamp for securing pieces – night and day
  • Pilot holes for those thick pieces. You’ll strip the screws otherwise
  • Pilot holes to prevent cracking. You don’t always have to but if the wood is prone to cracking or on the thin side, it’ll help
  • Look for the better specimens in pallets. There are some shitty torn up ones you just pass up
  • If you do end up with a shitty pallet, you can add slats from another shitty pallet to make one whole shitty pallet

Here are some photos of things we’ve done so far: